

So... third time to charm? That's right, I'm on my third homemade lightbox in as many weeks. At first, I just wanted to do something about my blue wall being in all my product pictures. Sometimes, it works. Sometimes, it just doesn't work for the picture. So, I decided to make a lightbox.
Mistake # 1.....
I used what I had on hand. I had one piece of foam core that I savagely cut in half and tried to lay up against my blue wall. Blue reflected on it anyway so that didn't work. So, I cut it down and tried to make a box with the pieces. My box was not sturdy. It was lopsided and the back was taller than the other pieces, so the tissue paper light-diffusing "roof" was not very good. If that wasn't enough, I used packing tape only and it kept coming off. Plus, you could see it on the inside of the back wall, so I had to keep editing it out on my photos.
That's Ghetto Box.

Mistake #2 ...
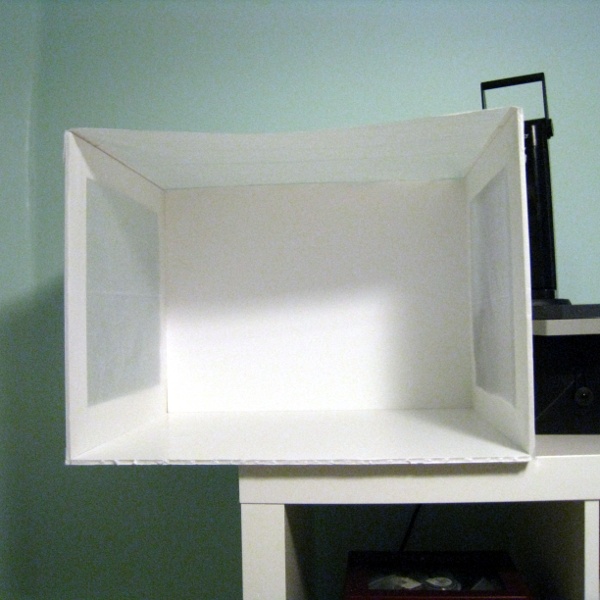
Then, I was all inspired by a post from the Etsy "Sellers Assisting Sellers" team (SASsy) captain who posted about her light box. So, I dug out a bigger box from our closet by filling two smaller boxes with its content. I went to the dollar store for white bristol board and my husband was kind enough to cut up the box for me. I filled it with white paper and lined it with bristol board and I was so happy.

This picture is after I tore out the bristol board. I was so unhappy with it. I guess, since it was from the dollar store, that's why it wasn't "white" white. It was white-ish under the macro lense of my camera. I actually liked the pictures from Ghetto Box more. The foam core gave a better texture and the flat bottom (instead of the curved bristol board) was easier to stand my cards up on. So, I decided, it was time for attempt number three.
If Ghetto Box and Big Box got together and had a baby, that would be the box I have now.
I bought more foam core, foam adhesive and new tissue paper. I cut windows in this box's sides for more light (since I only have one lamp and not two like The House of Mouse does). I measured everything carefully this time and I used a heavy duty craft knife that I found in the kitchen. (It's quite nice. I don't know where it came from but it's mine now!) This box is the size of the Big Box but the style of the Ghetto Box.
Are my photos better now? What do you think?
BEFORE

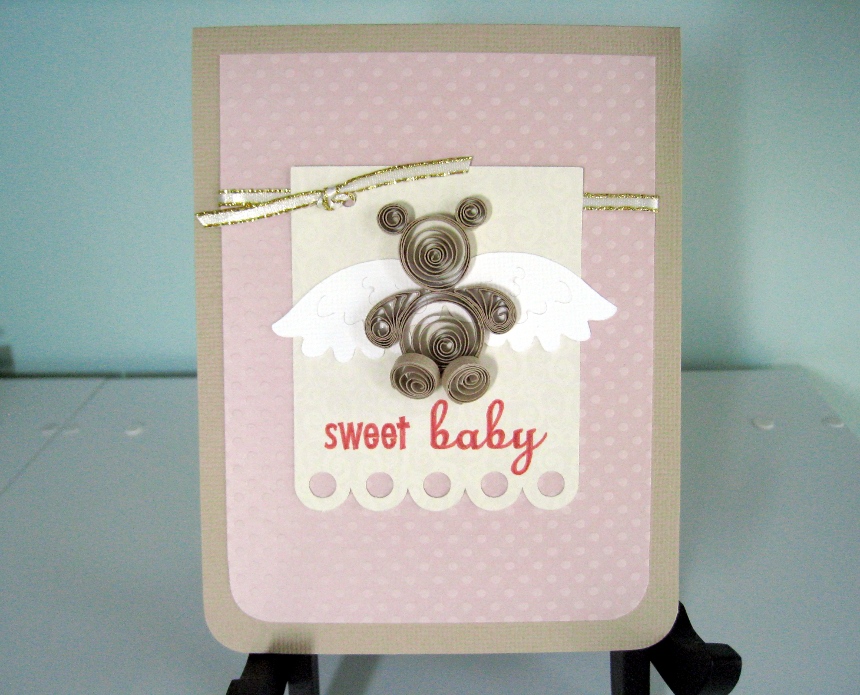
AFTER

BEFORE

AFTER
I'm no expert still, but I HOPE I'm moving in the right direction!
Wow, what a difference the light box makes! I'm glad you didn't give up after the Ghetto Box and Big Box disappointments.
ReplyDeleteYour pics look great, bright and crisp!
ReplyDeleteHuge improvement with the light box! I had one I made myself and used to use before I started relying on natural light. I think with cards you definitely picked the right choice, but for my jewelry and 'soft romantic' image I go for I work best with early morning sun. Great job!
ReplyDeleteMy daughter and I made a light box for her. The light we used was the same ones they use for the chicks when they hatch to keep them warm, teehee.
ReplyDeleteIt works good for her. But my camera is just a tiny pocket camera and my back lighting comes out with a blue tinge with the white background. I know there is a setting for it, but I forget how to change it.
It is funny how much a light box can change the look of your photo's.
That is an amazing difference with your lightbox photos! I keep trying different things, and have purchased lightboxes, but this was a profound difference that I have never seen when I have tried....and so I have given up! This post will make me try again!
ReplyDeleteThat's perfect! What a great idea...your projects look sooo much brighter with the lightbox. I'm going to try that!
ReplyDelete