Saturday, May 27, 2017

Paper Quilled Humming Bird Card

My sister-in-law gave me this lovely card for my birthday this year. I've dabbled in paper quilling but I haven't made any for quite some time. I've always wanted to try filling a whole shape like this but it's so much work! I'm sure it's worth ever second though, to get a result as stunning as this!

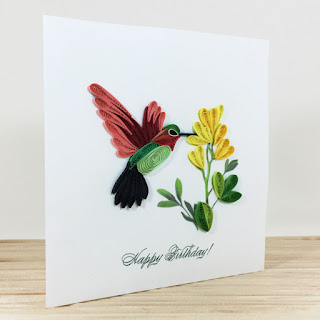
I love the detail and the colours. Paper quilling is surprisingly sturdier than it looks once it's glued down to the page.

The crafter who made this uses a unicorn for a seal. A little unicorn faux wax seal (made of plastic) was on my envelope. I kept it and now it's a badge on my craft room door!
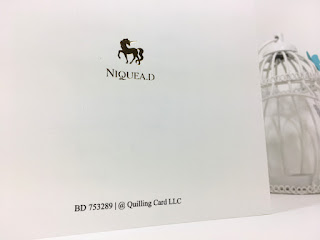
If you would like a lovely card like this, it came from Quilling Card LLC.

Monday, May 8, 2017

Sweet, Summery birthday cards!

I hosted a Stampin' Up! party in January and we did a card swap. In a swap, each participant makes multiples of 1 card design. You pass yours out to other guests and get their design in exchange. For my card, I decided to use scraps.

 Buy this card on iCraftgifts!

I die cut some circles from rainbow chevron paper and offset them over the side of the card. Then I dug through my stash for some metallic strips and put them through my 2.5 inch circle punch. I pulled the end through the punch so I would punch only one end to get the curved side. Then I used my scalloped circle punch to take a "bite" out of it. A little more digging through my scraps yielded some strips to ground my sentiment. Then I sprinkled some star sequins on it.

The Popsicle stick is the Word Window punch from Stampin' Up! (now discontinued), but you could make it the same way I made the Popsicle - just use a smaller circle punch!


On some, I used regular cardstock for the Popsicle but then coloured over it with my Wink of Stella / Spectrum Noire clear glitter pens. I think they turned out just as good, but the metallic pearl paper looks more "real". Here's a vanilla Popsicle with a different background circle:


I made some chocolate ones too, of course! It was really quick to put these together (except if I used the glitter brush - they take a while to dry!). I think they turned out fun and cheery!