
I'm on a card in a box kick at the moment! I made my first card in a box earlier this year based on a tutorial. It was a vertical A2 card (4.25 x 5.5 inches). I made that one an outer space themed card and I gave it to one of my nephews for his birthday. I wasn't particularly fond of the narrow space for the sentiment on the back though.
So, I found a tutorial for an A2 horizontal card in a box to make a cheer up card for someone at work. I LOVED it. I made some more (which I might post at a later date). It was a great size but, I thought to myself, "I think I can make a 5 x 7 inch version."
The first one I did, the sides were deeper and that made it seem a little too gaping for me. So, I tried a different set of measurements and I love how this one turned out!
 This is my 5 x 7 horizontal card in a box! I even managed to make it from a single sheet of 8.5 x 11 inch cardstock - well, the base, at least. I had to use some scraps for the "benches" that go inside. I used a die from Little B that I bought online from Top Dog Dies to cut out all those hearts from 3 different sets of scraps. On the front, I used my newest Accucut Craft Die: Fancy Frame insert. It's the perfect size for cards.

Although you can't see it well in the photo, I embossed the panels on the flaps and the back of the box. I used white on white because this is a wedding card. (Navy is one of the wedding colours.)
When folded flat, the card measures 5 x 7 inches, so it can go in a regular card envelope.

I made a pocket on the back of this one and put in it another Accucut Craft die: Gift Tag #4. This way, I can write the sentiment on one or both sides of the tag and, if I mess up, I haven't ruined my whole card!

I'm very pleased with how this ensemble came out!

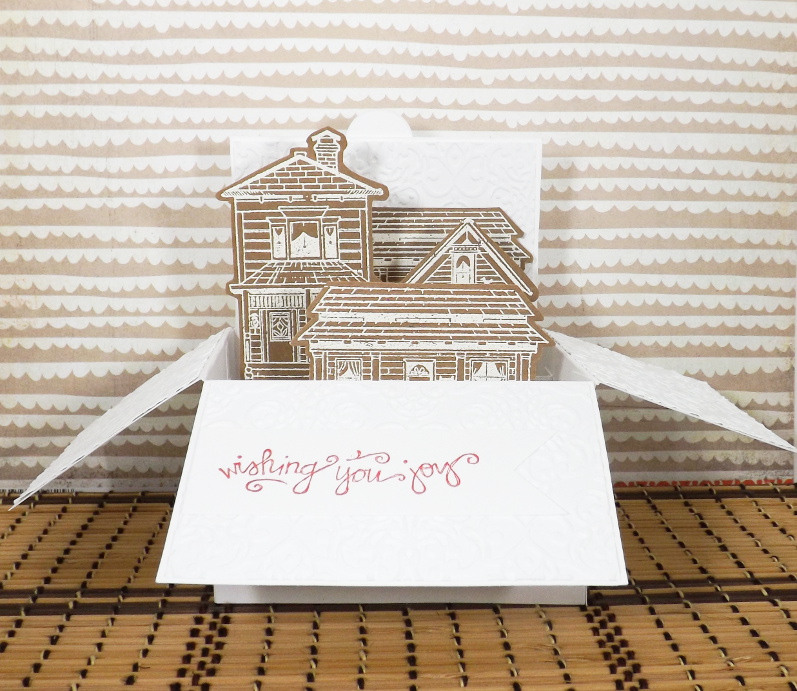
As for my first attempt, where I wasn't really loving the dimensions, I made it into a gingerbread house holiday card. I used home stamps from Local King Rubber Stamps (a stamp company out of British Columbia). Embossing them in white on kraft cardstock gives them a gingerbread house look. I think it turned out really sweet. I'm going to donate it to a retirement home this holiday season with the other cards I'm piling up for staff to give out to the residents.


If you haven't tried making a card in a box yet, I highly recommend it!
So, I found a tutorial for an A2 horizontal card in a box to make a cheer up card for someone at work. I LOVED it. I made some more (which I might post at a later date). It was a great size but, I thought to myself, "I think I can make a 5 x 7 inch version."
The first one I did, the sides were deeper and that made it seem a little too gaping for me. So, I tried a different set of measurements and I love how this one turned out!


Although you can't see it well in the photo, I embossed the panels on the flaps and the back of the box. I used white on white because this is a wedding card. (Navy is one of the wedding colours.)
When folded flat, the card measures 5 x 7 inches, so it can go in a regular card envelope.

I made a pocket on the back of this one and put in it another Accucut Craft die: Gift Tag #4. This way, I can write the sentiment on one or both sides of the tag and, if I mess up, I haven't ruined my whole card!

I'm very pleased with how this ensemble came out!

As for my first attempt, where I wasn't really loving the dimensions, I made it into a gingerbread house holiday card. I used home stamps from Local King Rubber Stamps (a stamp company out of British Columbia). Embossing them in white on kraft cardstock gives them a gingerbread house look. I think it turned out really sweet. I'm going to donate it to a retirement home this holiday season with the other cards I'm piling up for staff to give out to the residents.

If you haven't tried making a card in a box yet, I highly recommend it!
