
Before I reveal my latest craft room configuration, let me give you some background. Many weeks ago, I signed up for the Scrapbook.com "Get Organized" class when they put it on for free. It's a 27 week class with a new craft organization challenge landing in your email inbox each week. I was just filing them away without having read them. I was going to read them all over the holiday break. Turns out, the links expire. Luckily, I started reading in or about week 25, so I had a more current link to the content where I found a "read ahead" link and was able to retrieve all weeks. So, that is the guidance I followed for redoing my craft room.
The first thing I wanted to do was rearrange my furniture. I used a piece of graph paper to draw my room. Then I cut out furniture parts from more paper. It's like making a paper doll for your room. I was able to quickly and easily move furniture around until I got a configuration I liked. I could take a picture of it before I re-arranged it again so that I could see my top three "best" layouts before committing to one.
Week 2 was the imagine your dream space week (squeeeeaal!). I spent a LOT of time looking at craft rooms to figure out what I liked best about them. If you need inspiration, my favourite place to peruse is the Crafty Storage Blog. Great ideas I saw on here include:
- Stickles homemade upside down storage
- Stickles with pipe straps (This person has since deleted their blog. This idea is the one that I used for my storage.)
- DIY stadium style stamp display boxes
- Copic/Marker storage in wine racks and down spouts
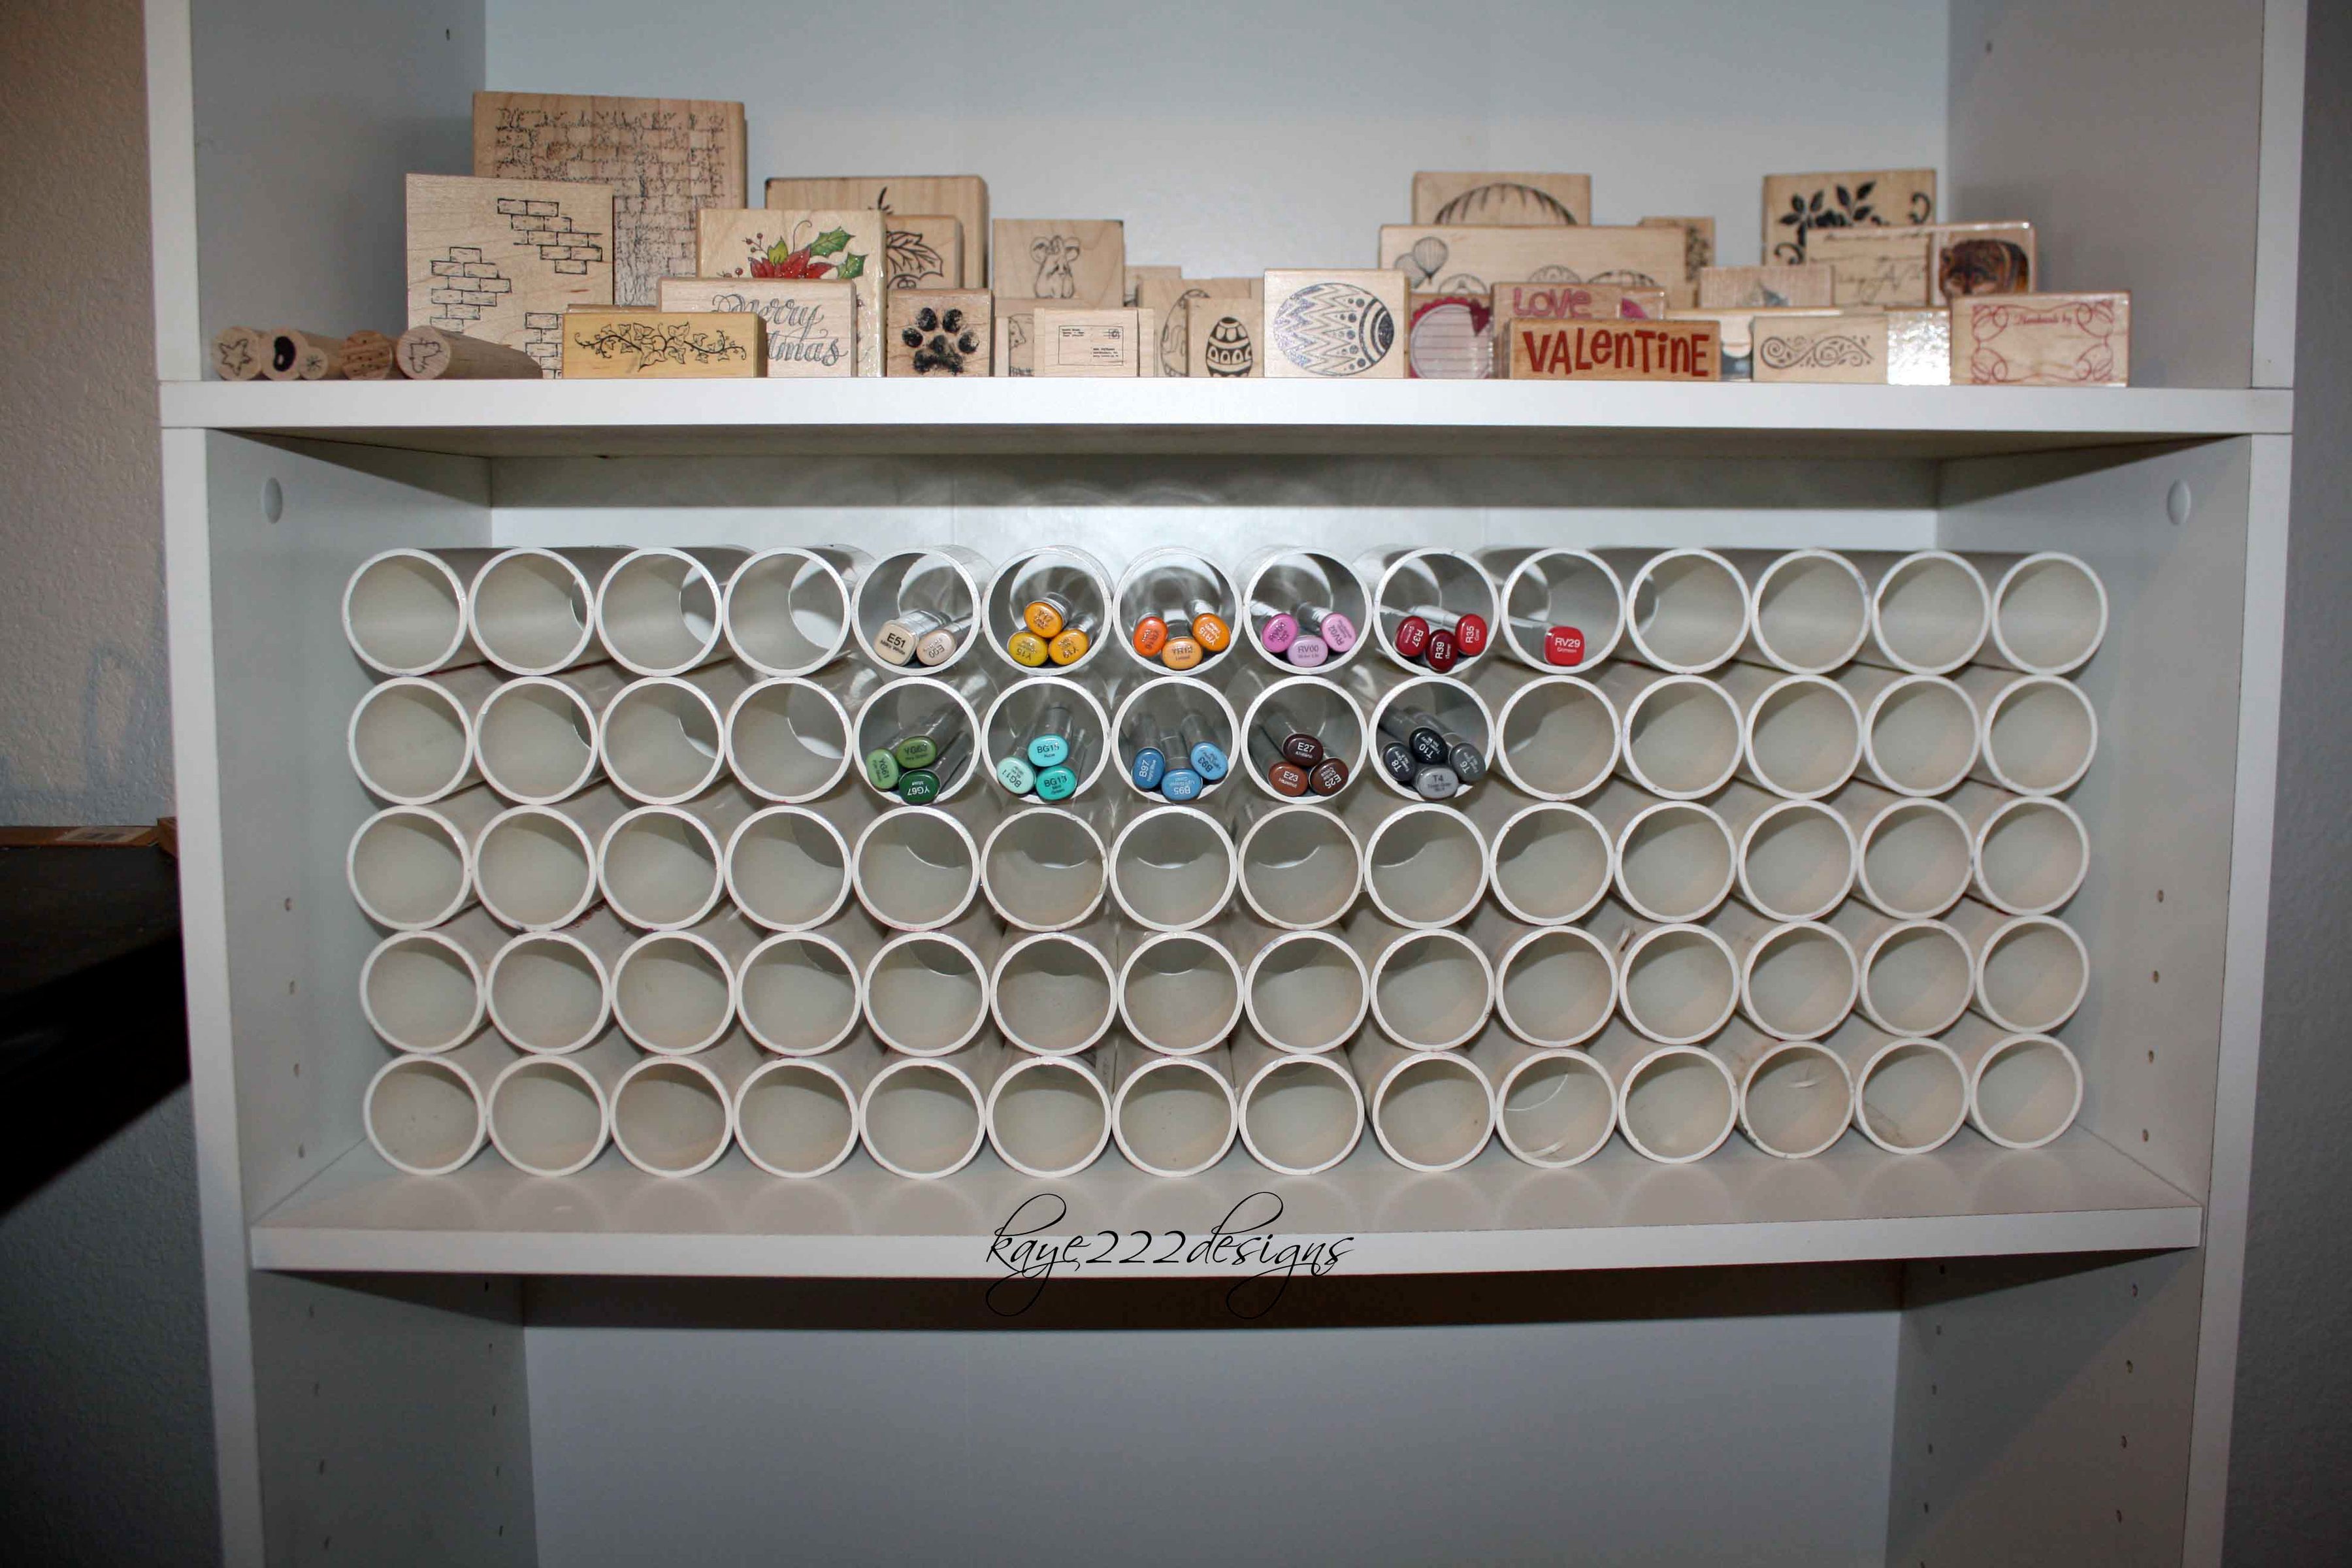
- Copic/Marker storage in PVP pipes (pictured below)
When looking at rooms and craft room video tours, turns out the ones I loved the most were ones with the containers the same colour or the same style. I loved the uniformity and repeating designs (like a repeating motif or theme in any piece of art). For examples, check out these lovely rooms:
- Mary Fish of Stampin' Pretty
- Craftaholics Anonymous Uniform storage example 1
- Craftaholics Anonymous Uniform storage example 2
- Karen's Small Craft room uniform storage example (pictured below - video tour available at link)

I previously painted my room grey with the intention of accenting with teal and purple. I haven't been able to achieve the accented look but I think it's close enough. I settled on congruent containers instead of repeating the same one. I tried to stick to my teal and purple combo choice but I didn't find many. So, I fell back on neutrals: black, grey, white and brown.
Another dilemma I faced: I need to see it to use it but, simultaneously, I don't like clutter. Well, how can I have it all put away but still see it? That was a challenge. I think I've reached a happy medium though.
I told my husband I wanted crafty storage for Christmas. Then I told him I was doing this 27 week program over my holiday break but that I was stuck on week three: clean your craft room. Ugh. (He laughed.) That took DAYS but it certainly helped me to mentally catalogue what I have and what I, therefore, need to store. I read ahead through all of the weeks to get ideas of the kinds of containers would work for me. Hubby took me shopping to pick out my new crafty storage containers. I was able to shop with purpose and knowing I could start using them Christmas Day really helped me to get through the cleaning part. (I got a gift card towards crafty storage from my sister too!)
I wanted to share a bit of my process with you and the great links to all the inspiration I found on the web. I love the DIY storage ideas and also ways to make ugly storage pretty. My favourite ideas were how to make supplies pull double duty as room decor - that makes them visible and yet organized.
A big THANK-YOU to all the crafters out there who have shared their ideas and their spaces!
I'll be taking some pictures and a video of my new configuration soon!
No comments:
Post a Comment
Thank-you for sharing your thoughts.